


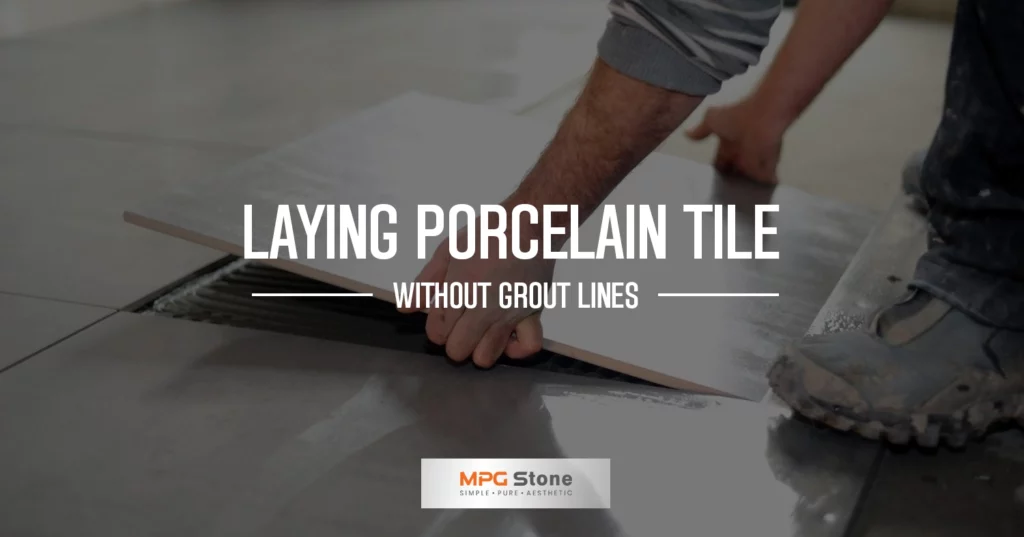
Whether you are looking to decorate your new home or simply renovate the old one, choosing the right flooring option is a crucial decision to make. Among all flooring options, porcelain tiles have emerged as a popular option due to their durability, aesthetic look, and versatility.
But along with the choice, laying a tile is also a crucial part to perform. As you might know, traditional tile includes the filling of gaps using grout lines between two tiles. But have you ever wondered if it’s possible to lay the tiles without using grout lines?
Well, whether you have wondered or not, in this informative blog we’ll explore this intriguing idea, discussing the benefits, potential challenges, and a step-by-step guide to achieve a clean and sleek flooring solution.
Continue reading to learn more in detail.
I. Understanding Porcelain Tile
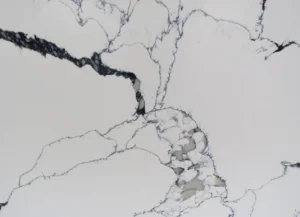
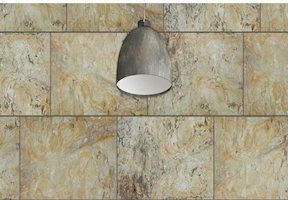
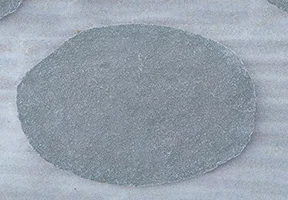
Before we delve into the idea and information of groutless tile installation for porcelain, let’s first understand some of the basics of porcelain tiles. Porcelain tiles are engineered stones made of denser clay by baking them at a very high temperature.
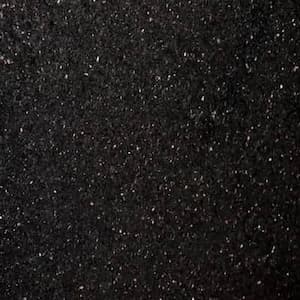
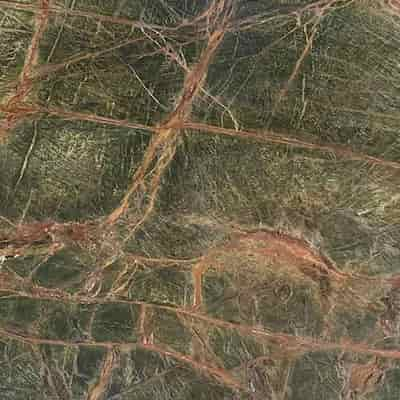
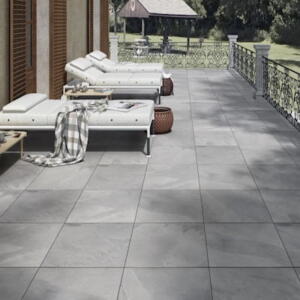
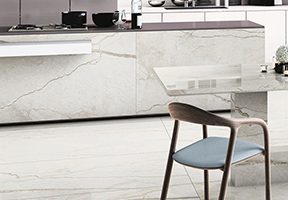
This manufacturing process for porcelain tiles results in highly durable and moisture-resistant tiles. These tiles come in various sizes, shapes, colours, patterns, and designs and offer extreme versatility in applications from bathrooms and kitchens to living rooms and hallways.
II. Preparing for a Groutless TILES Installation
First, we need to prepare the surface for a groutless installation of porcelain tiles, which includes:
1. Choose the right porcelain tiles
- Opt for reconstituted tiles: Choose reconstituted porcelain tiles that contain a precise and factory-cut edge to make sure that you have a clean and uniform look in your area.
- Consider Thinner Tiles: Thinner tiles are easy to align and work with and offer smooth and seamless surface flooring.
2. Prepare The surface
- Dry and Clean: Before installation, clean the whole surface thoroughly. Remove any debris, dust, or adhesive, and ensure that the area is completely dry before proceeding any further.
- Have a Level Subfloor: First, inspect the floor and level the subfloor, making sure there is no unevenness. Follow this process before installation to avoid any potential damage to the tiles in the future.
Follow these steps before installation to prevent any mishaps with tiles and ensure a lasting flooring option in your place.
III. Step-by-Step Groutless TILE Installation Guide
1. Start with Layout And planning
- Measure and Mark: Start the process by measuring the dimensions of your room and marking the center point. You can either use chalk lines or guides to make sure that straight lines are made during the installation.
- Dry Lay the Tiles: After the measurement is done, dry lay your porcelain tiles without any adhesive, only to visualize their placement and make necessary adjustments to it if required.
2. Cut and Place
- Cut Precisely: Firstly, make your saw wet with water to make precise cuts, specifically around the corners and edges of the tiles. Try to be accurate, invest as much time as you can, and achieve a seamless look.
- Spacing: Next, you need to look at the spacing and leave a minimal gap of 1/16 to 1/8 inch between tiles to accommodate slight expansion and prevent any friction.
3. Adhesive Application
- Use Thin Mortar: After working on tiles, now apply the thinnest mortar on the subfloor with the help of a notched towel. You need to work on small sections to make sure that the mortar doesn’t dry up before the placement of tiles.
4. Installation Of Tiles
- Start from the center: Start the placement of tiles from the center point and work in an outward direction to maintain alignment and symmetry.
- Press tiles firmly: Make sure not to apply much force to the tiles and press each tile firmly into the mortar. This will ensure a strong bond between the tile and the subfloor.
IV. After Installation Care
1. Have a Groutless Tile sealant
- Apply Sealant: Once the tiles are set perfectly, all you need to do is apply grout-less sealant to their surface to ensure that water and stains don’t penetrate the tile’s surface.
2. Regular Maintenance
- Regular Cleaning: If you want to keep your groutless porcelain tile floor looking pristine for a longer period of time, you must clean your floor every day with a soft mop and non-abrasive cleaners.
- Address Cracks On Time: If you see any cracks or damages to the stone, address them as soon as possible and replace them promptly, if needed.
V. Groutless Tile Pros and Cons
There are pros and cons to everything you do, and so are groutless porcelain tiles. So let’s address them here and understand how they impact us:
1. Benefits of a Groutless Installation
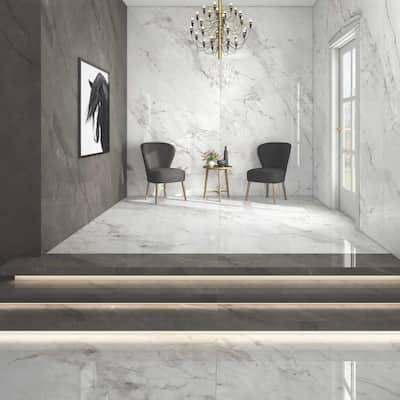
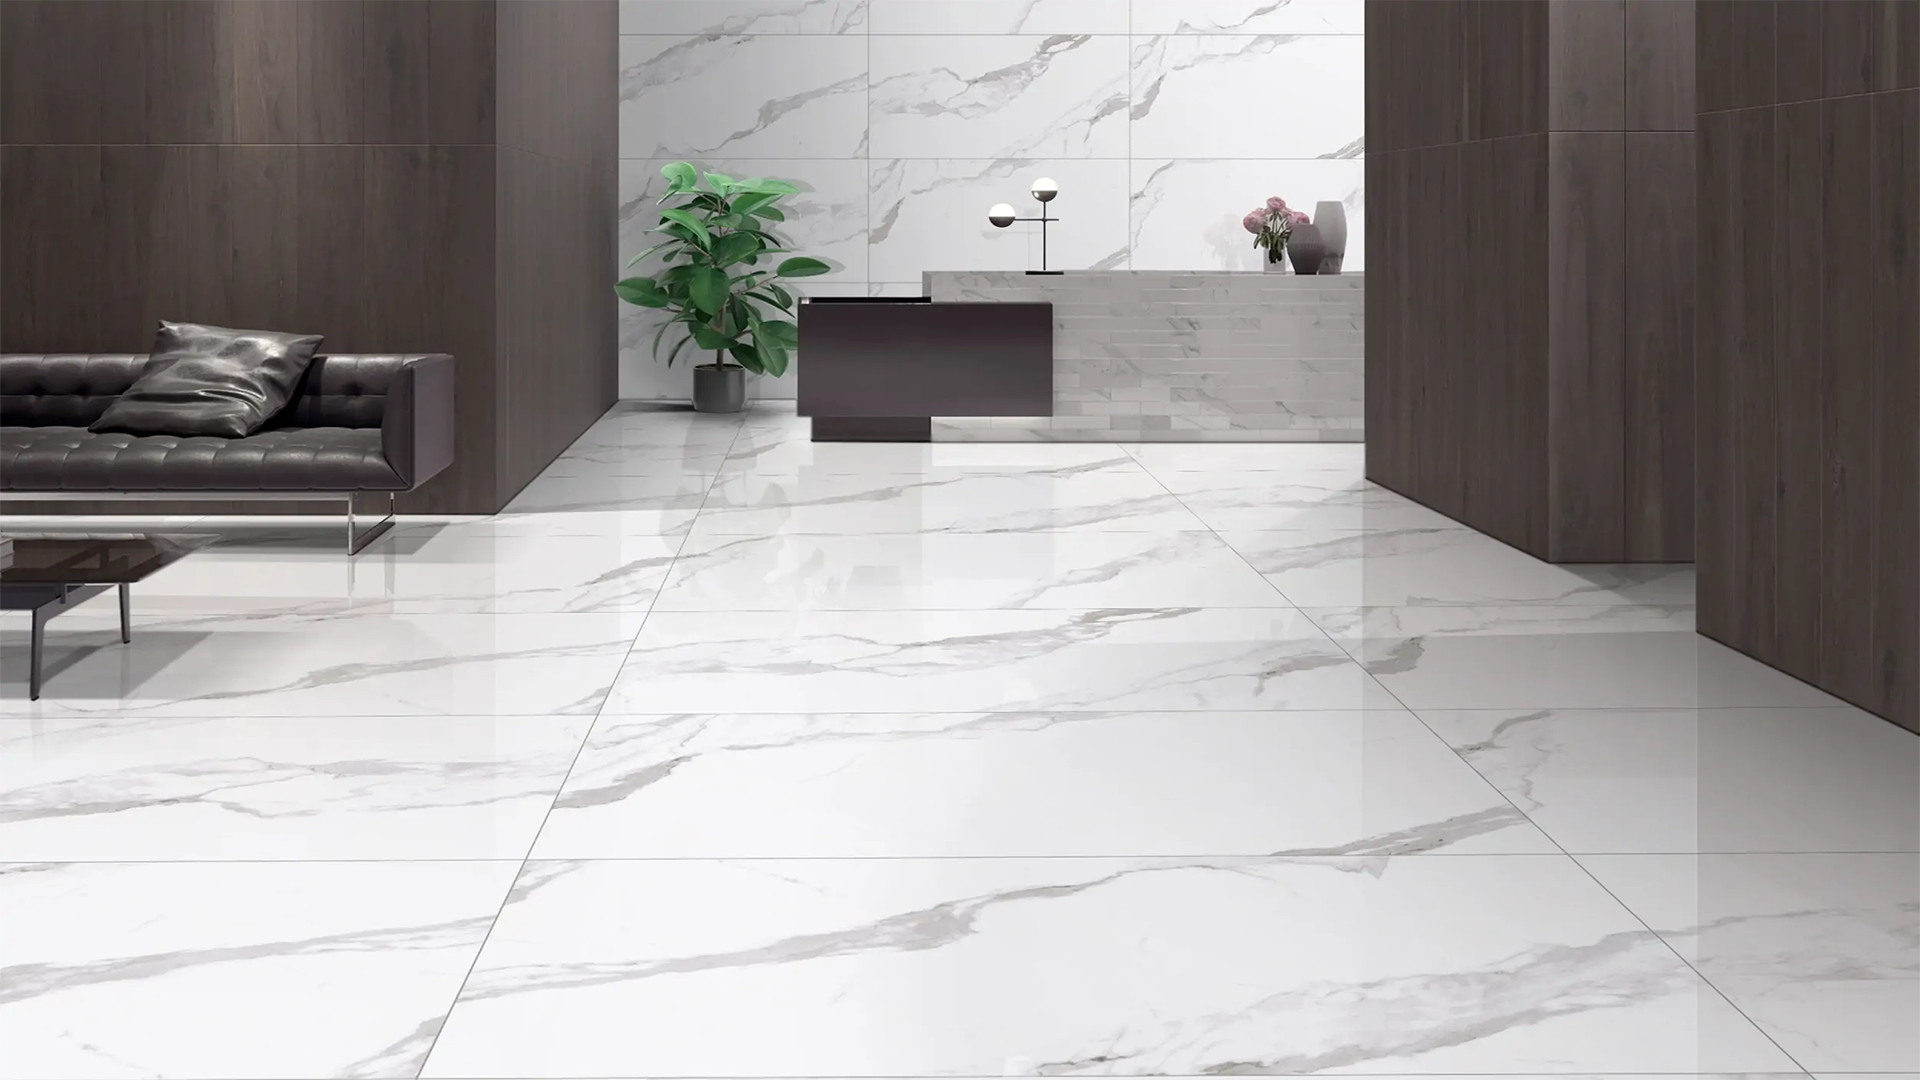
- Aesthetic Look: When you eliminate grout lines from the flooring, it offers a seamless and continuous appearance to your flooring, which automatically enhances the visual appearance of your floor.
- Space Perception: Groutless flooring installation offers a spacious perception as it makes a room look larger by providing a spacious and modern ambiance to it.
- Easy Maintenance: Having no grout lines makes cleaning easy as there is no space left for the dust to accumulate, which reduces the buyer’s cleaning load.
2. Challenges Of Having a Groutless Installation
- Precision Cutting: Groutless tile installation requires precise cutting of tiles, which might be challenging, especially around edges and corners.
- Time-consuming: Laying tiles without grout is a time-consuming task that requires a lot of time and effort, as aligning them is quite meticulous.
- Professional Assistance: Laying groutless tiles must be a daunting task for most homeowners and designers, and you may find yourself needing to seek help from professionals to do this task for you.
Conclusion
Porcelain tile without grout lines can provide a contemporary and sophisticated touch to your living space. Although it requires precision and attention to detail, the end result is a seamless, low-maintenance floor that enhances the overall aesthetics of your home.
By following our step-by-step guide and being mindful of the pros and cons, you can achieve a clean and sleek flooring solution that is sure to impress and elevate the beauty of your space for years to come.
Lastly, if you have any doubts regarding the selection of tile type for your project or anything related to it, feel free to ask us anytime. You can comment on your queries below for further guidance.


2 thoughts on “Laying Porcelain Tile Without Grout Lines in 5 Steps”
This blog on laying porcelain tile without grout lines in 5 simple steps is a gem for DIY enthusiasts. It offers clear and concise instructions, making the task seem effortless. Whether you’re a seasoned DIYer or a novice, this resource is a must-visit for achieving a flawless tile installation.
Thank you so much for your thoughts! We’re thrilled to hear that our guide on laying porcelain tile without grout lines has been helpful for both seasoned DIYers and newcomers. Your positive feedback motivates us to continue providing valuable resources. Happy tiling!